

G.I. Gary Restoration Files – Dreadnok Ground Assault Stinger – Part 1

Welcome to Part 1 of a restoration blog for a rare piece of G.I. Joe history.
One of my newer projects is the 1986 G.I. Joe Dreadnok Ground Assault Stinger. The Stinger was part of a Sears Exclusive two-pack of vehicles, the other being a Dreadnok themed R.A.M. These Sears Exclusives were made in lower quantities, and catalog only, limiting awareness. Now with many collectors seeking out these rare pieces, prices have skyrocketed, with a complete opened set in the $350 to $500 range based on condition. In general, the Stinger by itself is worth about $300, and the R.A.M. could bring another $125.

But what’s the option when you don’t have that kind of dough to fork out for a complete set all at once? In my case, I look for incomplete and loose models and try to piece one together over time. Part of the purpose of this article is to compare what I’m actually spending over time versus me just shelling out the dough for a complete example. Also what follows is a step by step guide on taking these apart. This is part 1, as I am still hunting some missing pieces.
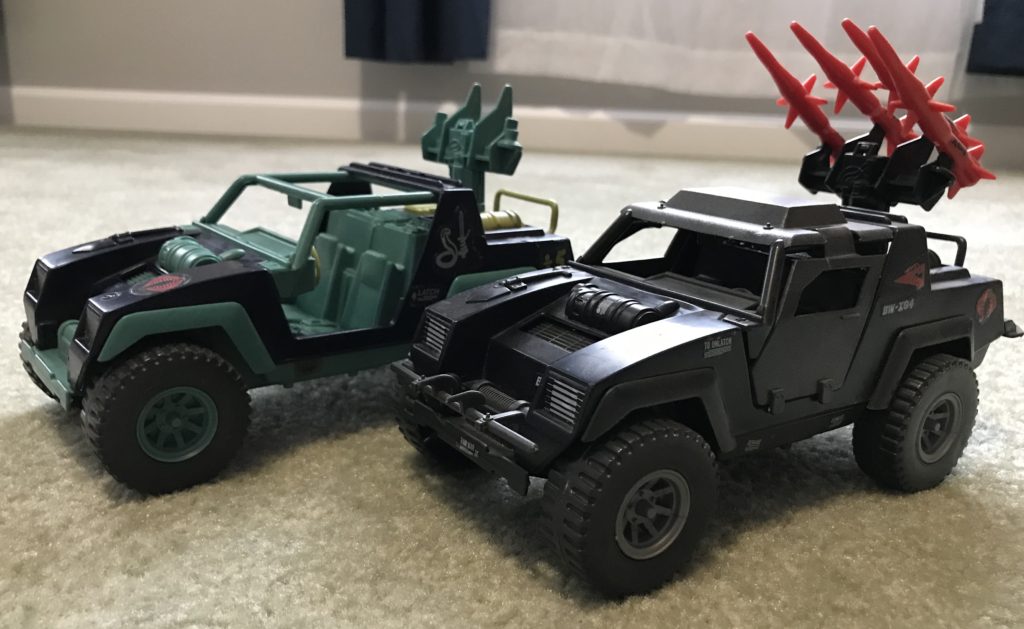
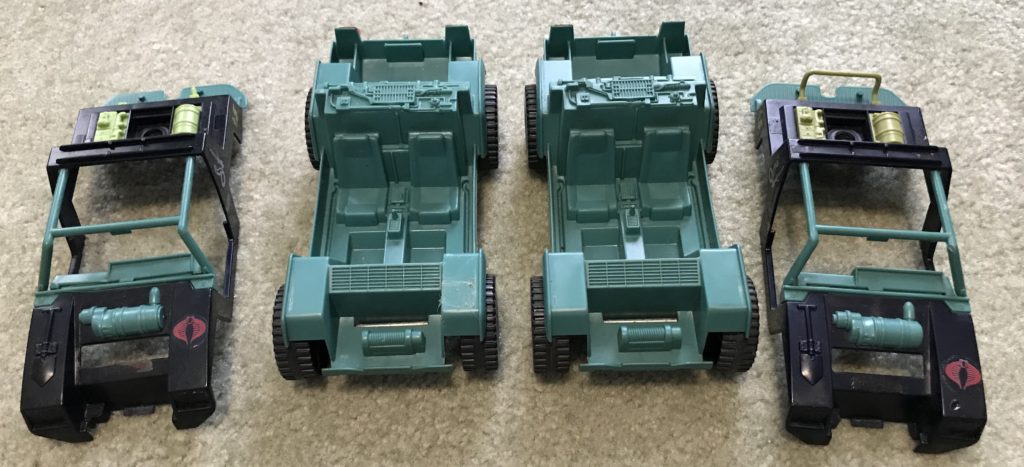
Pictured above is what I’m starting with. It’s a pretty rough example I found on Facebook for $125. The whole reason I got it was because: A) I didn’t have one; and B) it had the hardest to find part, the steering wheel. Pictured next to it is the 1984 Cobra Stinger, which is the original version. You can see the Dreadnok version missing the front bumper, roof, doors, and missiles.
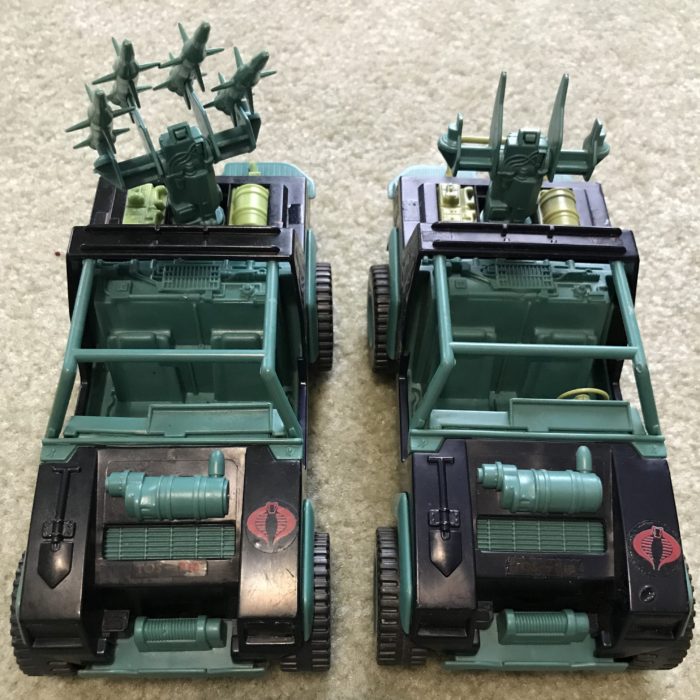
So at the recent local toy show, you can see my second one on the left. My first step is to decide which “shell” to keep and restore. My new one was in much better condition overall, but it lacked the steering wheel and rear hand bar. The dash shows some stress wear from the factory, but since it’s glued into a much nicer body, I’ll consider it part of the toy’s “character” or “story.” So now that I know which one I’ll be keeping, it’s time to start disassembly.
First step is to take the easy stuff off. The missile rack comes off by twisting it about 45 degrees to align the keyway and it pulls straight out. The steering wheel just pulls straight out. Put that somewhere safe!
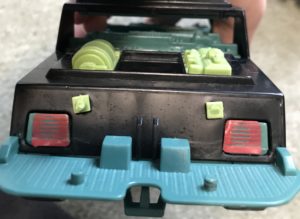
Next up is to split the body from the chassis. There are 3 tabs that hold them together. A big one in the front behind the front bumper, and the two in the back are disguised as the tail lights. It’s easiest (and safest) to push on the body grill to retract the front tab. Be gentle as it does have to travel pretty far to unlatch. It’s much more accessible than the tail light tabs, and there is also more plastic so it’s less prone to damage. I try to repair G.I. Joe vehicles with as few tools as possible as the plastic gets more fragile with age. During reassembly I will slide the front tab in and snap the body over the tail lights.
 All disassembled ready for more!
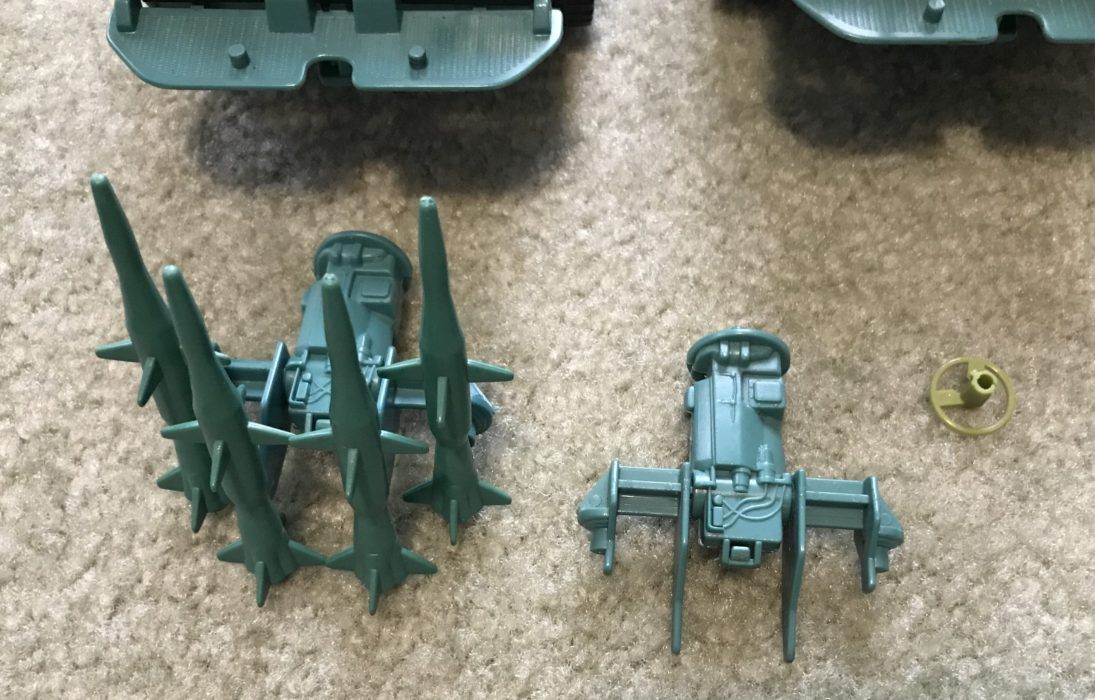
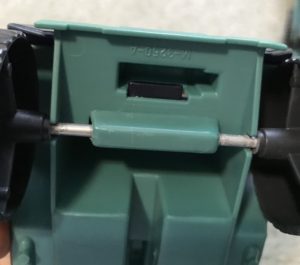
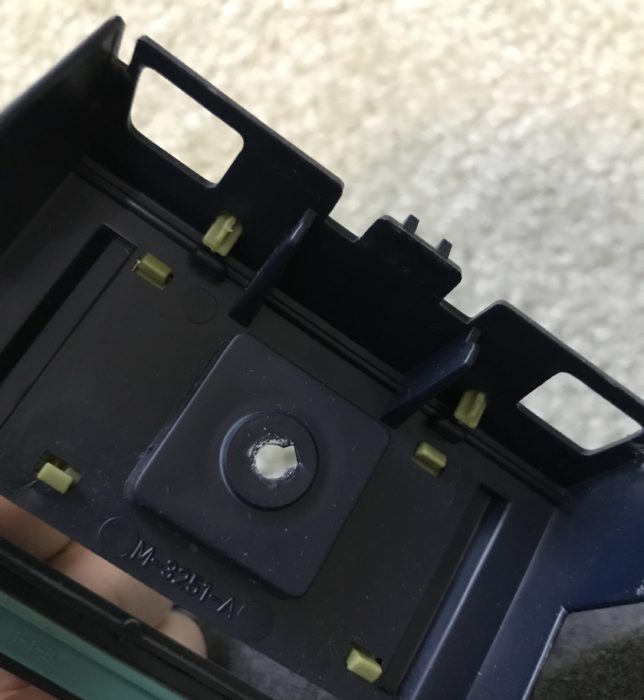 Here’s a close up of the keyway for the missile rack. The rear platform just slides right off once the body and chassis are separated. You can also see the tabs for the rear deck details. Similar tabs hold the front hood barrel on. I’m not taking any of these off as the nicer ones are on the nicer shell. Take a look at those pegs for the rear hand rail. They are a friction fit, but with play they can develop their own “prongs” that may retain the rail. Essentially, as figures are placed on the rear deck and hold on by the rear hand rail, the rail gets moved up and down resulting in the body cutting into the pegs. This creates the stray piece of plastic that stops the hand rail from being simply pulled (or pushed by the back of the pegs). I cleaned these with my thumbnail but I can see these getting significantly problematic enough to require a small file or razor knife.
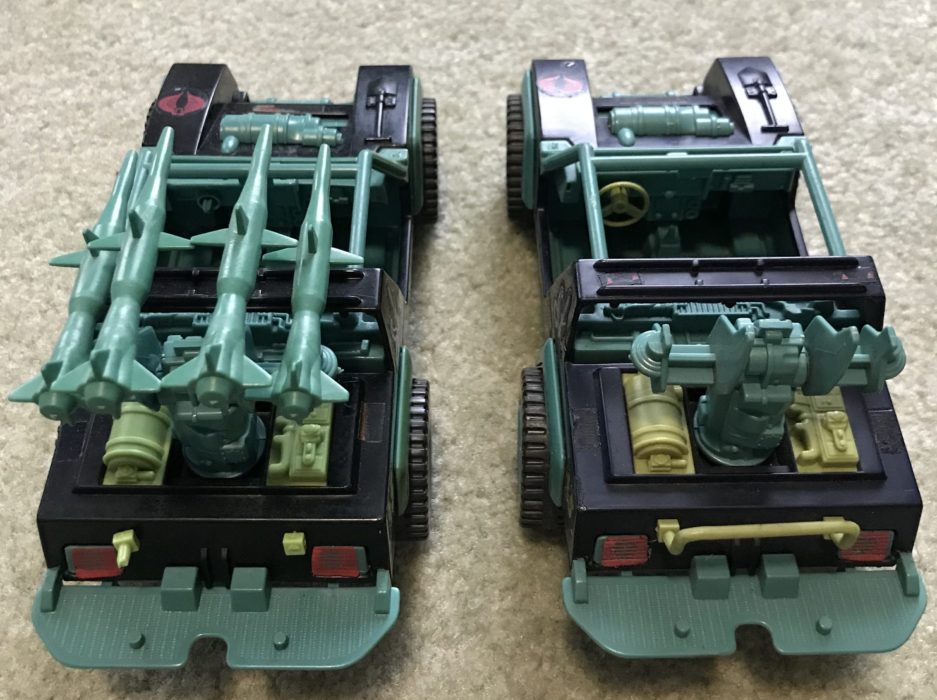
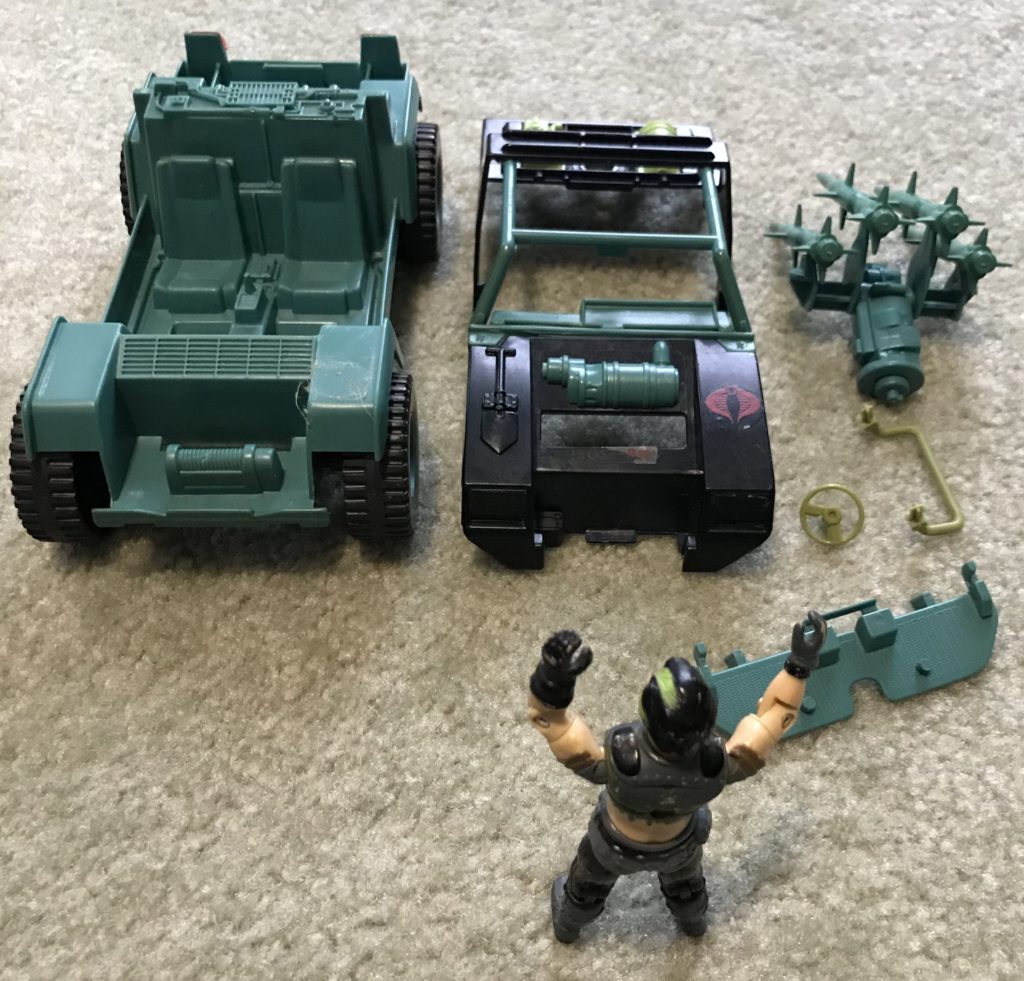 Here’s what Thrasher is left with. I’m not re-assembling until I find a front bumper. I have installed Stinger front bumpers with the chassis and body together, however, I’m not going to chance it with this piece. The other parts missing are the doors and roof. One last thing to consider at this point is to evaluate the stickers and decide if they are nice enough (and well placed enough) to keep on, or if they need to be carefully re-glued or just buy reproduction stickers and start fresh. The parts I’m missing are also available via reproduction, but I generally don’t want reproduction parts, but I’m not against stickers. Individual tastes may vary.
So where am I dollar-wise with this small, but expensive, project?
$125 – Stinger #1
$175 – Stinger #2 (paid $220 for it and the Rapid Fire, Cobra Trooper, and Charlbroil, so figure value I’m estimating at $45)
-$70 – Sold Stinger #1 stripped on ebay (this is my net gain after all ebay fees, sold in less than an hour, probably asked too little)
Current total $230.
Until next time!

©2018 Pint O’ Comics | About Us | Contact Us | Site created by One Flight Up Design